


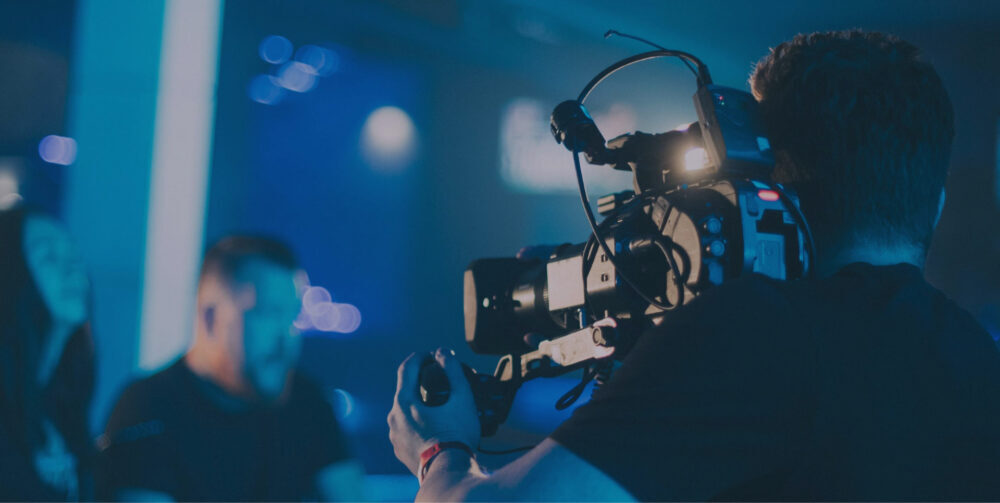


Choosing the right equipment for your webinar strategy
Since COVID-19, working from home has become the new normal, and we have had to change how we work and communicate with our audience. Remote events are more popular than ever, which is hardly surprising because webinars are an efficient way to tell your story to a large audience. Plus, it’s an ideal way to keep personal touchpoints and allows you to engage with your customers and prospects.
Many companies are starting with webinars or want to start but don’t know how. It’s a great step forward to take, so we’d like to help you with it.
If you’re starting with webinars, it’s important to be well-prepared. Your first webinar will set the tone for any future webinars, and — you know what they say — you only get one chance to make a first impression. Let’s prep for a smooth webinar and offer your attendees the best quality they can get, shall we?
Before you buy equipment
Before investing in equipment, you’ll need some basic things to get started.
1. The right webinar platform
2. Find a quiet room to present
3. Internet connection is your lifeline
If your internet connection is unstable, you’ll have lag, pixelized video, or worse, robotic voices, making it hard for your audience to follow your webinar. People will start complaining on the chat or worse they’ll be leaving the webinar. This is something you want to avoid at all costs. Chances that they are coming back are rather slim.
4. Test, test, and don’t forget to test
Test everything upfront. I recommend having a dry run for every webinar. Test your connection, audio, and video quality. Have your dry-run in the same room where you’ll be hosting the webinar. That way you avoid unexpected surprises.
Also, don’t forget to test your content. Try your script with your colleagues, and discover blind spots. Are the polls in the right place? When do we need to start them? Be as prepared as you can. You will feel more confident, and the audience will enjoy a well-prepared webinar
Let’s get technical
I prepared 3 webinar setups for you to get inspiration from. I call them the “DIY”, “Medium,” and “Professional” setup. Bear in mind that you can combine different setups to find your ideal webinar kit. I still experiment and combine different equipment to improve the quality.
DIY webinar setup
What do you need?
- External monitor
- Laptop
- Some boxes to fake a laptop stand
- Enough natural light
Cost?
This setup doesn’t cost anything. It’s using the office equipment you already have.
The DIY setup is the cheapest setup. This is perfect to start and experiment with webinars because you don’t have to buy additional equipment. What’s really important here is that you put your camera on eye level to make yourself look good on camera. I used some old laptop boxes, but you can use almost anything.
I also recommend having an external monitor next to your laptop. This will help you to share your presentation or screen, and you can use your laptop’s screen for the webinar platform. That way, you can follow the chat and won’t have an infinite mirroring effect with your webcam or shared screen.
Lastly, I located my gear near a window. This will help my camera to expose the video image correctly. If your video is underexposed, your camera will look blurry and will contain a lot of grain. If your shot is overexposed, your face will be overly bright.
Here’s how my DIY setup looks like:
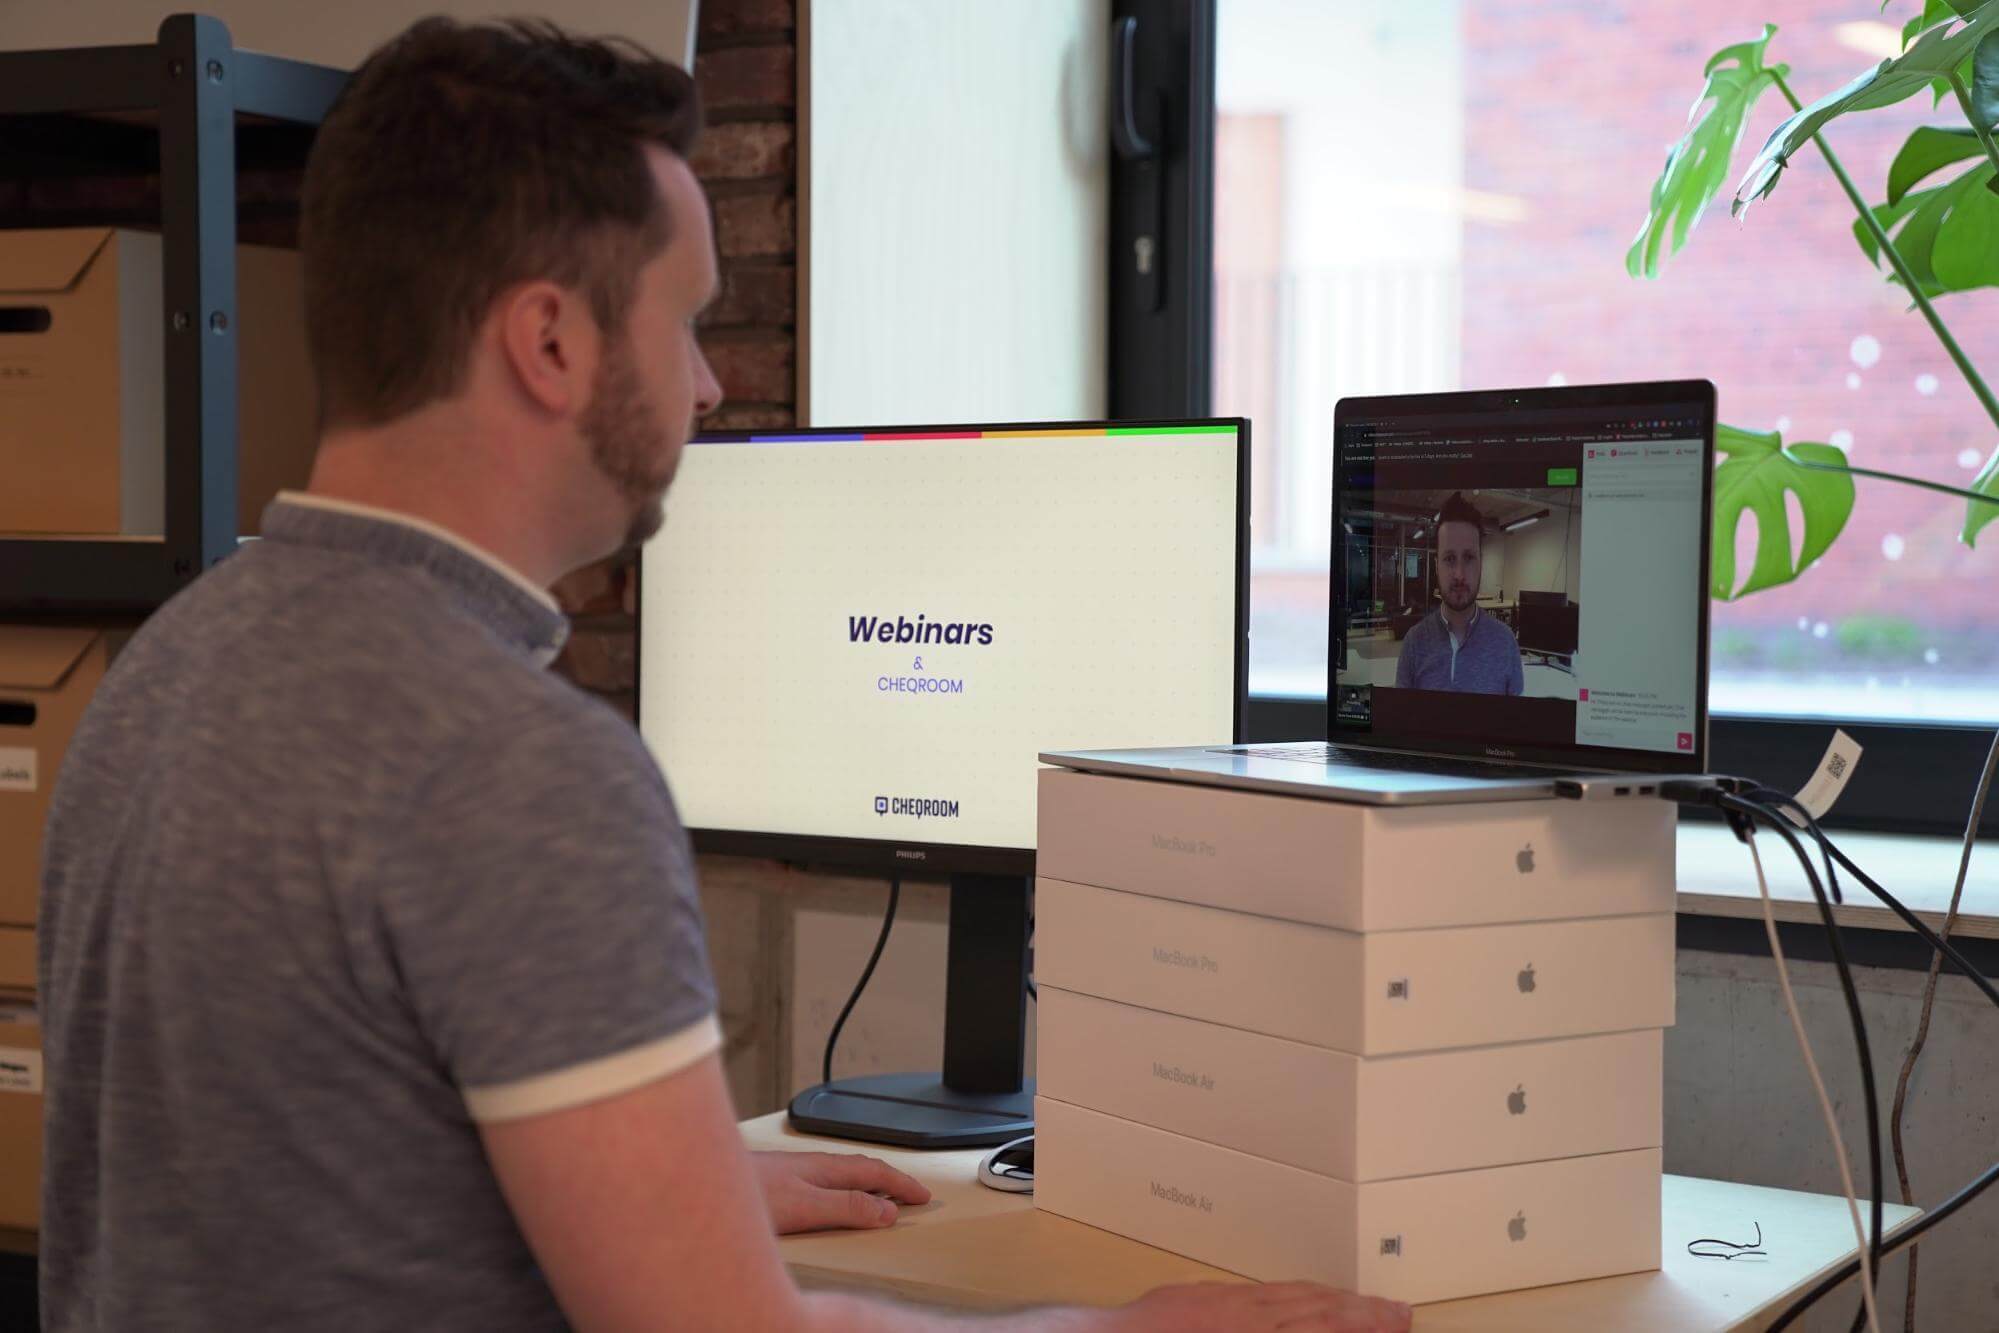
Medium setup
What do you need?
- Laptop
- External monitor
- Webcam ($150)
- Small led panel ($100)
- Adjustable laptop stand ($30)
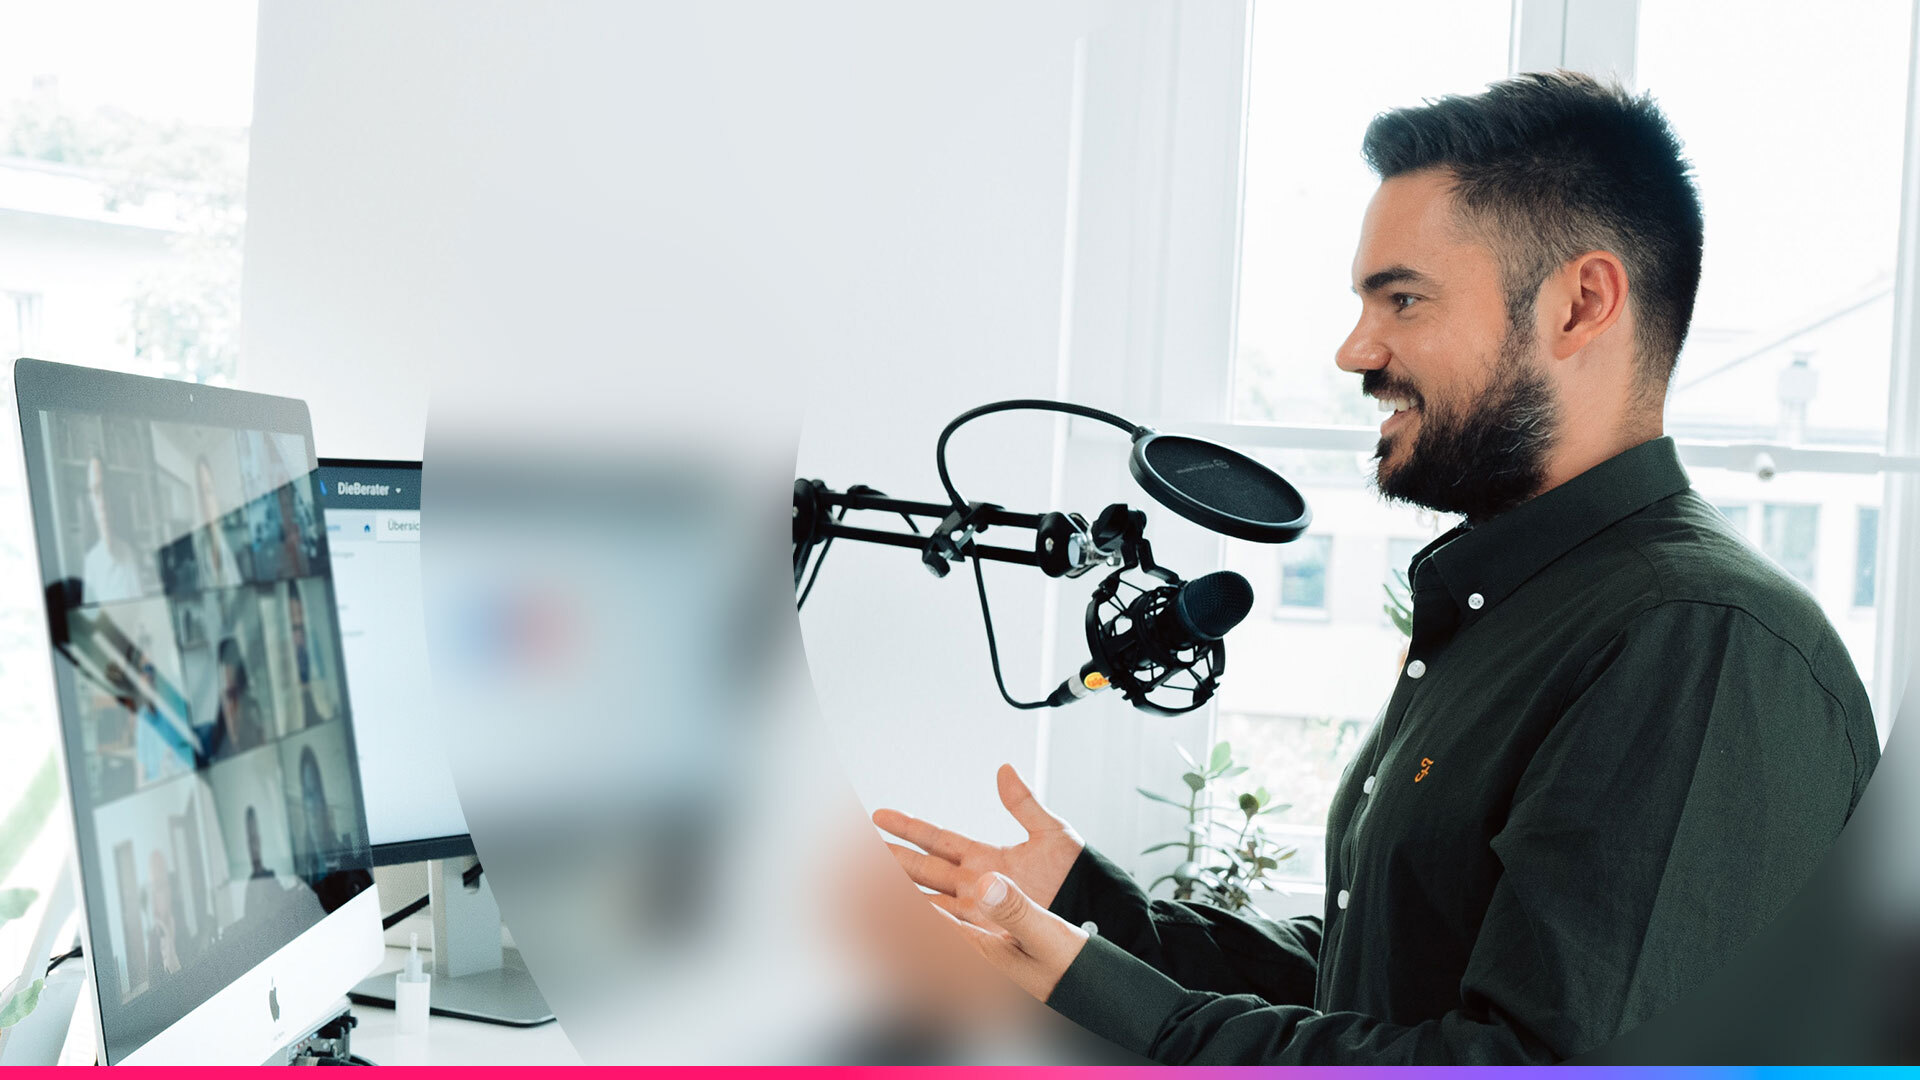
- USB Microphone ($150)
Cost?
+/- $430
The medium setup is a 400 euro upgrade. You won’t break the bank with this setup but already have some clear wins over the DIY setup. The biggest improvements are the USB microphone which improves the audio quality and decreases the noise level.
I also added a small led panel. That way, you’re not depending on natural light and can set up wherever. That’s ideal if, for instance, your colleagues use the only room with natural light to do calls. The external webcam will improve the overall video quality. Internal webcams have an aspect ratio of 1280 x 720. The overall video quality will improve if you buy a webcam with 1920 x 1080 or higher because your webinar platform won’t scale your video. Lastly, an adjustable laptop stand is nice to have. It allows you to easily change the height of your camera for speakers of a different heights.
This is what it looks like:
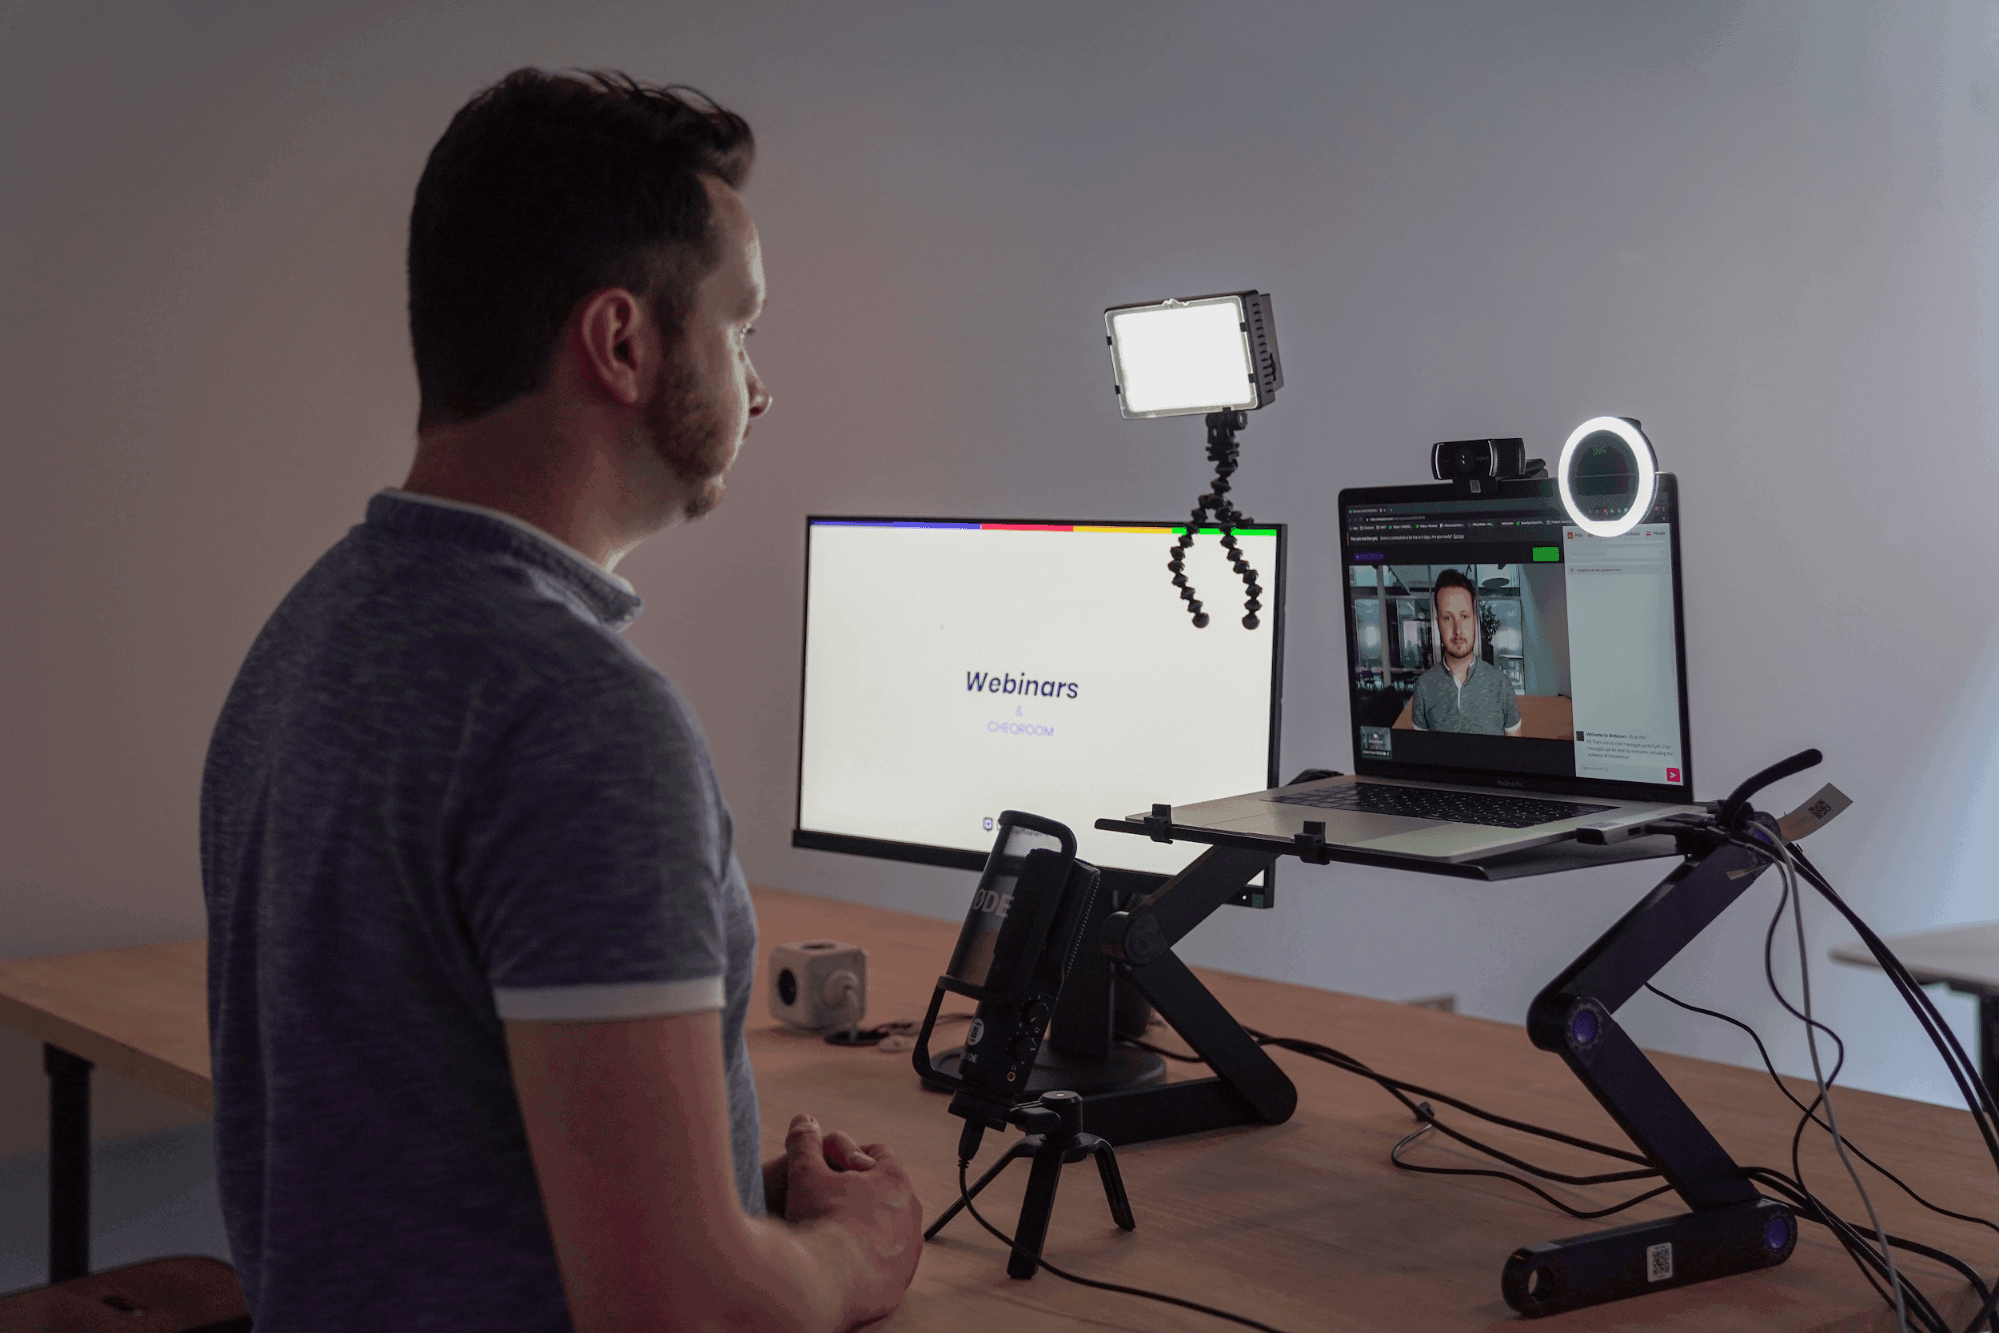
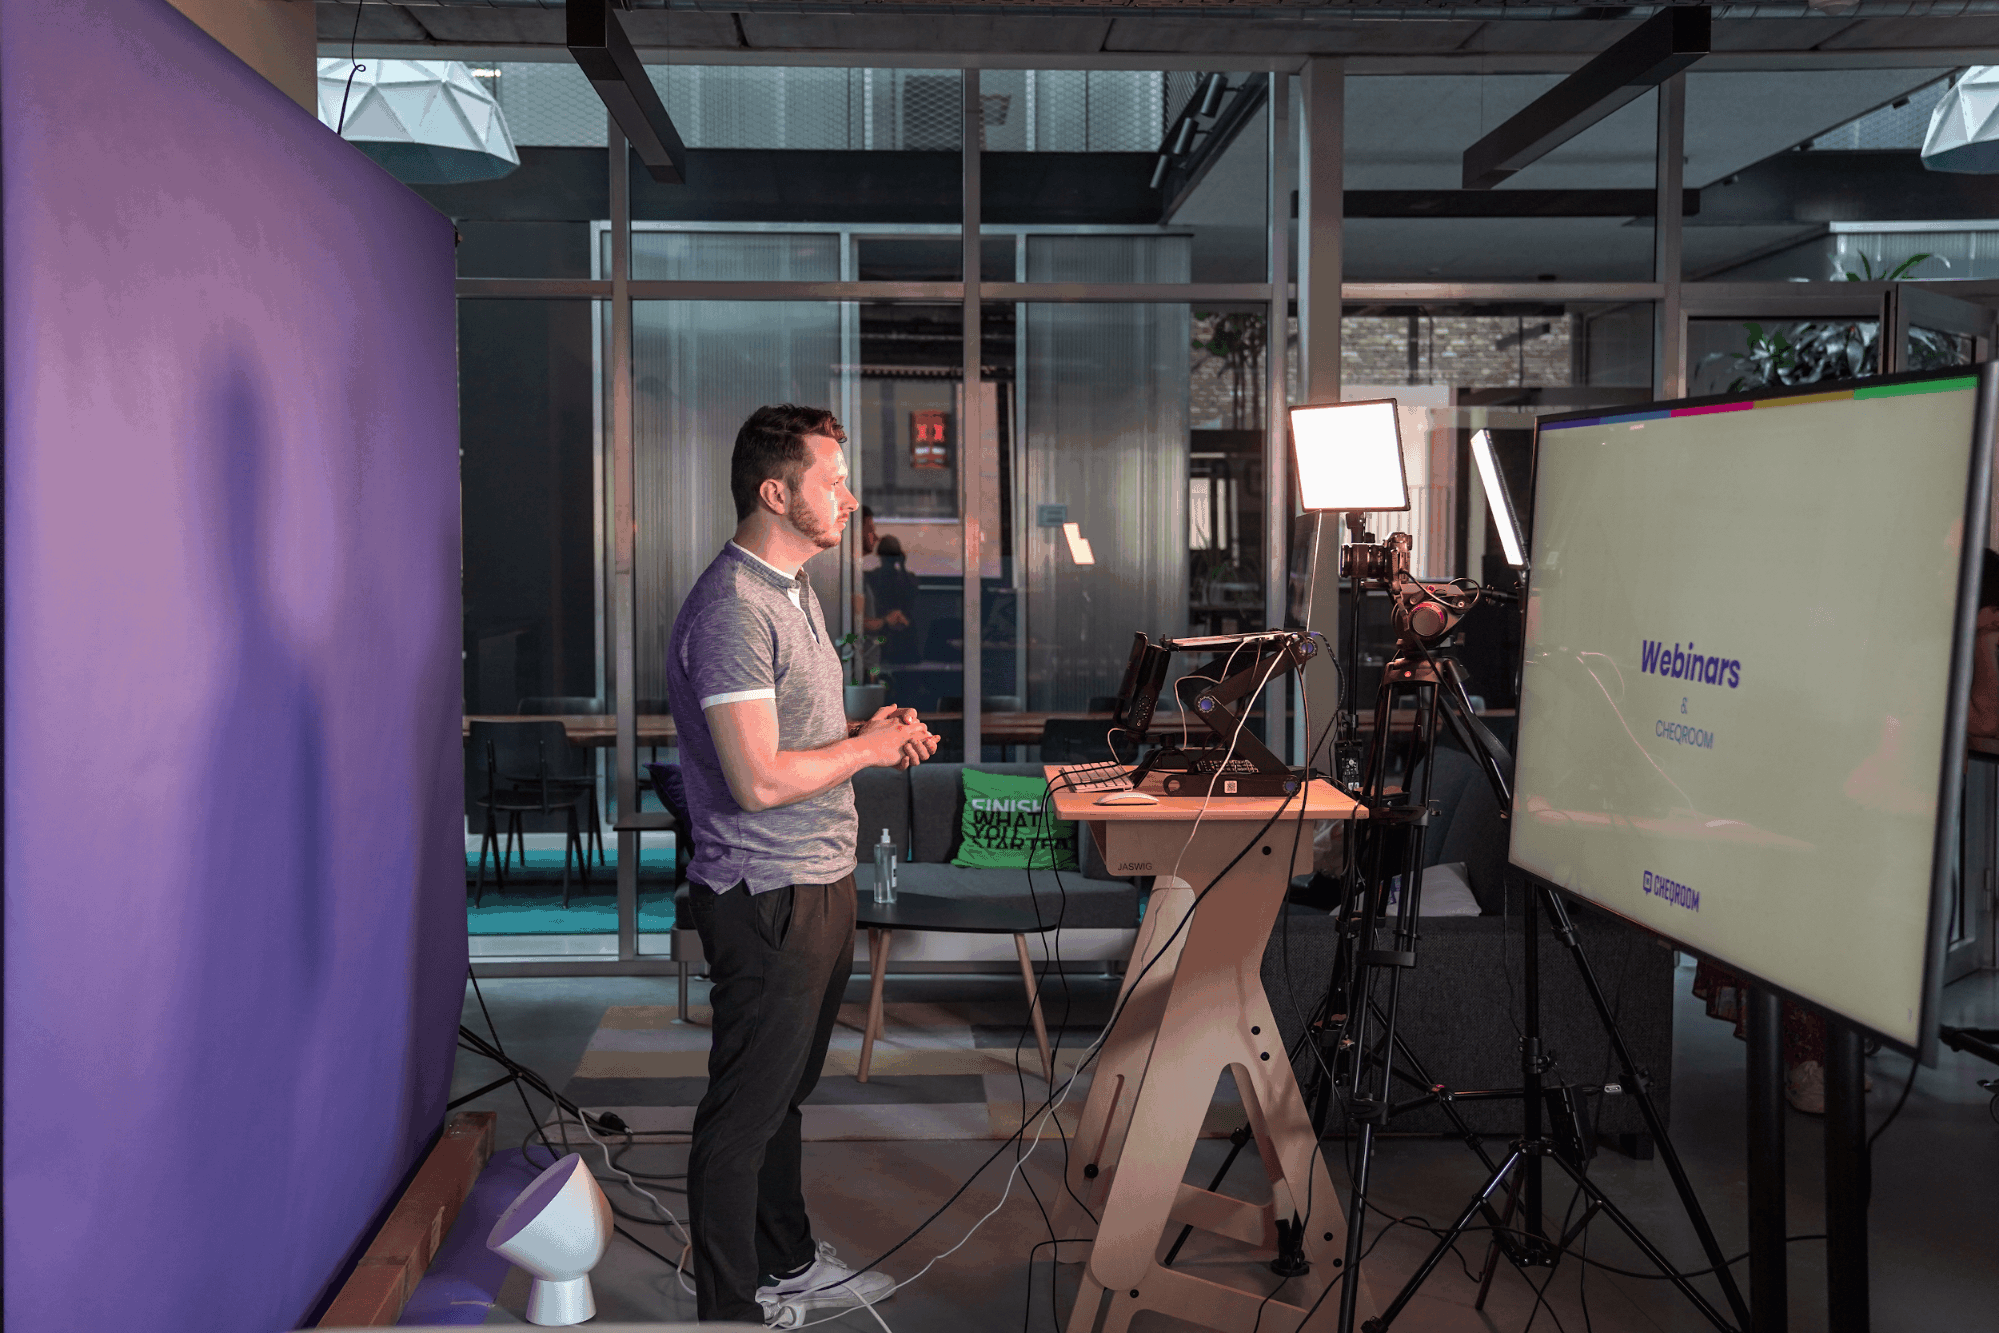
Professional Setup
What do you need?
- Laptop
- External monitor
- Webcam ($150)
- Led panel kit (+/- $600)
- Adjustable laptop stand ($30)
- USB Microphone ($150) or lavalier set ($400)
- Camera with mini HDMI output ($500 – $1500)
- mini HDMI to USB converter ($400)
- USB dongle
Cost?
You can go as expensive as you want. The minimum budget that you need is +/- $1500.
The professional setup is ideal when you want to go all the way with your webinar. 1500 euros will get you quite far.
I added a DSLR camera with a good lens to the mix this time. I’m connecting this lens with an AJA UTAP adaptor. This adaptor converts an HDMI input to a USB output. I use the same USB Rode microphone from the medium setup.
If you want to have full control over the light, you can use a led panel kit with adjustable color temperature and brightness. Experiment to get the perfect shot.
Also, don’t forget to think about the background. Will you use a paper background in your brand colors or create a nice background with a studio setting? Either way, if you want to professionalize, you’ll have to think about a suitable background for your webinar.
How the professional webinar setup looks onscreen:
Wait, how do I connect all of this?
Let’s start with the audio. There are two options here: The first option would be to use the USB microphone connected to your computer.Secondly, you can opt for a lavalier microphone. This is a nice and subtle clip-on microphone. You connect this to your DSLR camera with a mini-jack input. A little more technical because you have to make sure that you connect the transmitter and receiver on the right frequency.
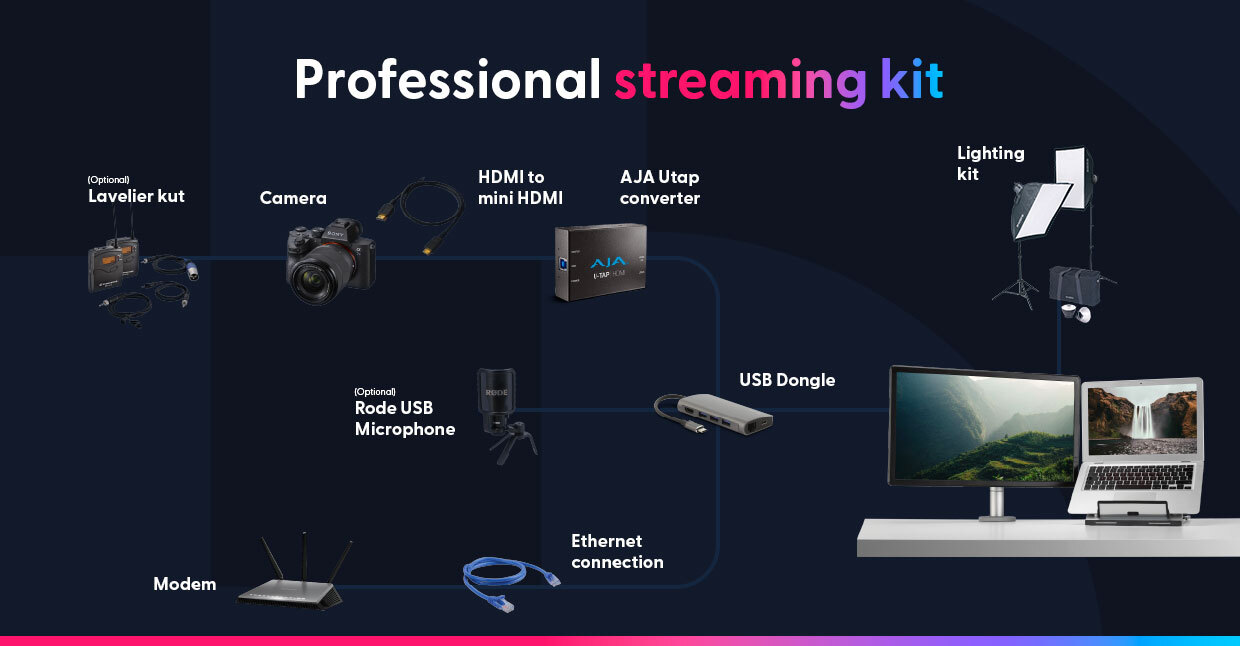
Don’t forget to select the right input on your webinar platform. Choose a USB microphone or, if you’re using the lavalier, you’ll need to select the camera input via the AJA UTAP.
To connect your camera to your computer, you’ll need to check the video output on your camera. In most cases, this will be a mini HDMI. That’s why I added a cable that converts mini-HDMI to HDMI. The AJA Utap will convert the HDMI signal to a USB input. Your computer will recognize this camera as an external webcam.
I always want to make it as easy as possible for my colleagues. So if you’re working with an Apple device, connect everything to one USB C dongle. If you’re using a Windows computer, then a regular USB hub will do the job. This way, you’ll only need to plug in 1 USB input to run the webinar.
Lastly, I’d like to emphasize that your internet connection is your lifeline and crucial for a successful webinar. So don’t forget to have a direct connection to your modem.
That’s very handy if you don’t have a dedicated webinar laptop. You’ll know that a stable internet connection is your lifeline. So don’t forget to have a direct connection to your modem!
Is it worth the investment?
This is probably the easiest part to answer, loud and clear: “Yes, it is!” If you decide to invest in webinars, you really want to do it the best you can. You’ll spend hours preparing a script, so you don’t want to throw it all away because of a technical issue, do you? You want your audience to come back or attract some new leads.
The return on investment is pretty easy to calculate: if you gain new business from webinars, you’ll earn the equipment back in no time.
Hosting webinars for customers is also a cost and time saver. Instead of explaining how a feature works to one customer at a time, webinars allow you to do this in bulk and educate all of your customers at once. Your help team won’t have the same meeting over and over again. When the webinar is done, you can make the recording available on-demand. And there you have it: another win!
Want to know more about equipment management? Sign up for our newsletter!

Meet Hana Belbecir, our dynamic content marketer. She infuses creativity and strategic vision into the core of our brand. Hana, passionate about storytelling and has a keen eye for market trends, is devoted to creating a unified brand identity for Cheqroom. Her favorite part? Working & brainstorming with different creatives.
More blog articles


