


How to wrap cables, two techniques that work
People wrap cables in a dozen different ways, and 10 of them are wrong. Chances are you have dabbled in some poor cable wrapping in your lifetime - hopefully not with expensive cables in professional settings.
Bad cable wrapping ‘techniques’ will leave your cables entangled when rolled out, or worse: damaged. Why? Because a cable has a natural coil. Twist it against the coil too many times, and you eventually shorten the lifespan of an essential piece of equipment. Manhandling cables are also antisocial where equipment is shared. A weirdly wrapped cable might roll out in a knot for whoever uses it after you at the worst time. Don’t be that person.
If you prefer to keep gear well-maintained and easily deployed but fear you might be engaging in some cable malpractice, this blog is for you: 2 correct cable wrapping techniques you could and should be using.
It's always better to see cable wrapping in action, so to really master their techniques, check out this video. 👇

The over-over technique
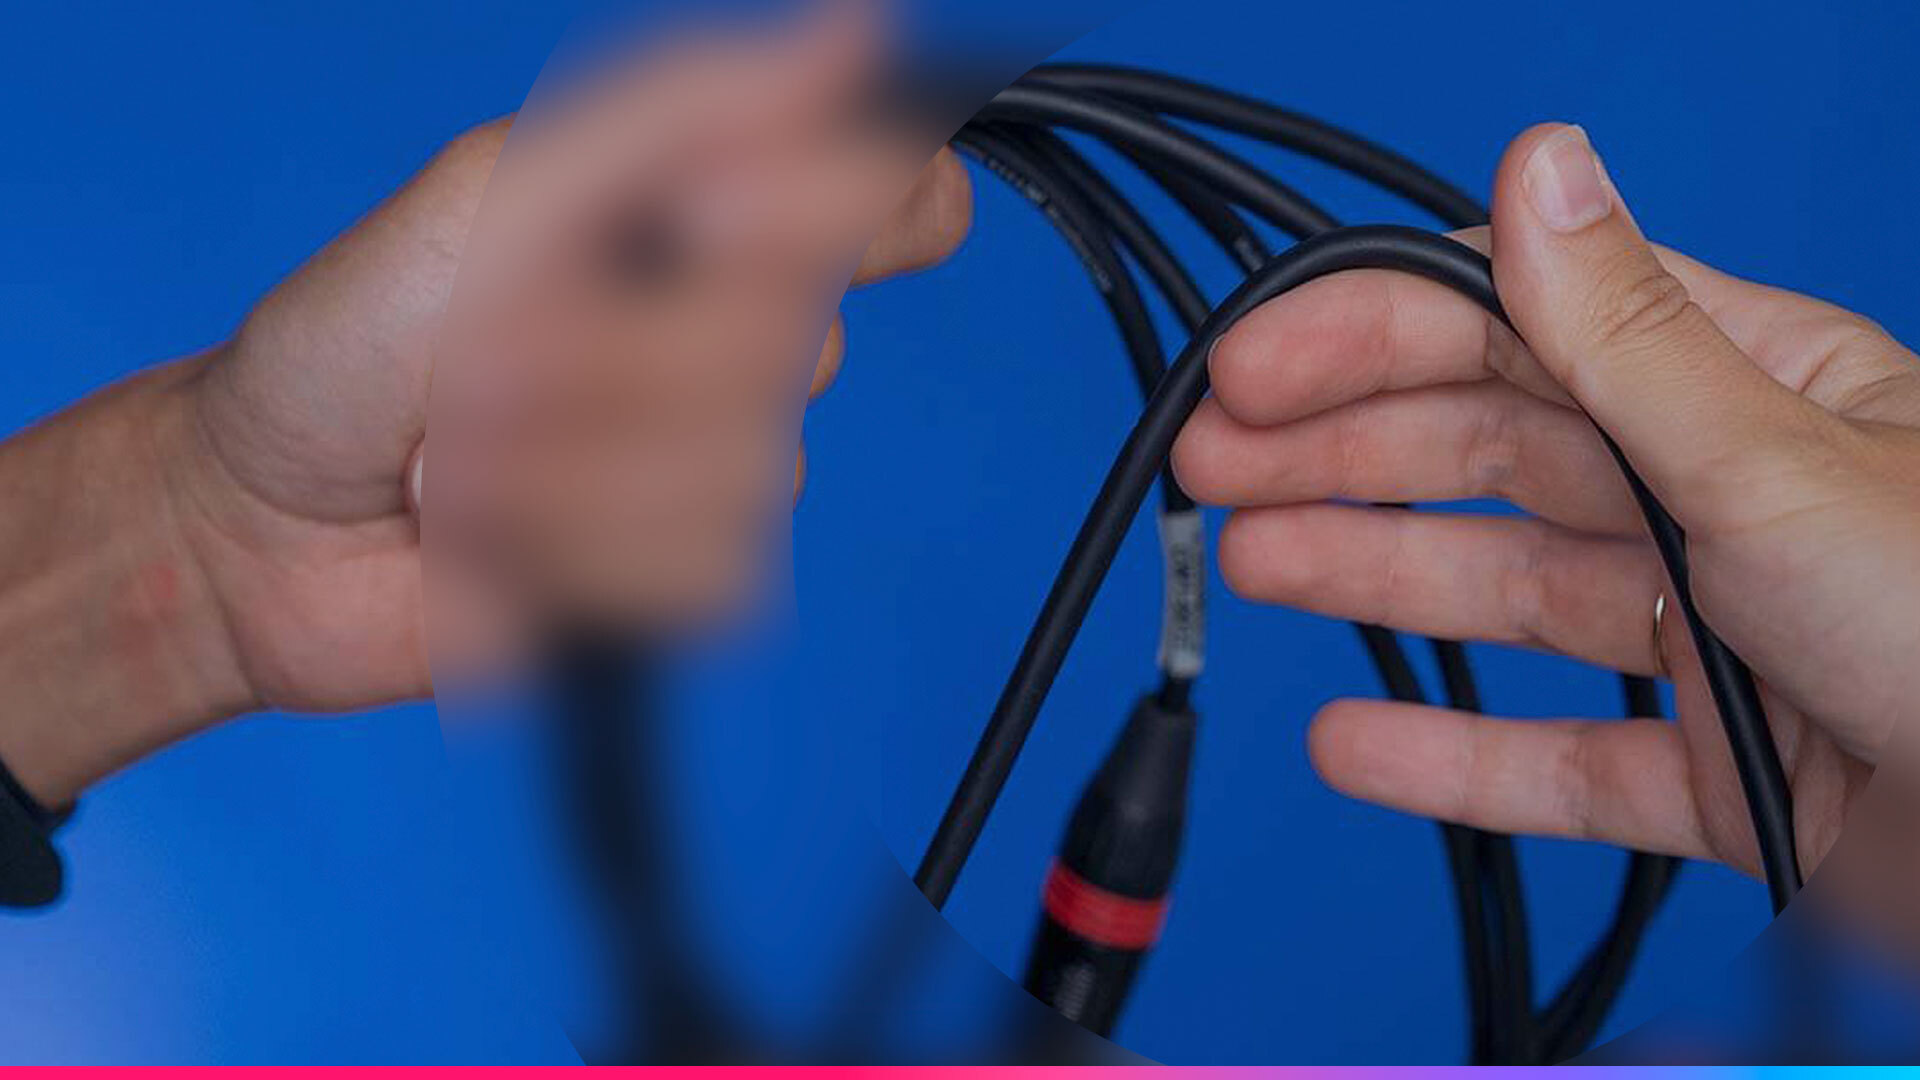
First is the over-over technique. For right-handed people, start with the connector in your left hand. Slightly twist the cables using the fingers of your right hand, and bring the cable to your left. Try to match the circumference of the loops if you want to keep the cable looking nice and tidy. Keep going until the entire cable is wrapped and ready.
The over-over technique is the easiest way to wrap cables, as the movement comes naturally to most people. This technique still has a small risk of long-term damage, so keep it for non-expensive cables or ones you don’t use heavily.

The over-under technique
The over-under technique is more advanced. More challenging to learn, but with the added benefit that it’s the best method to keep kinks out of cables. This extends their lifespan in the long run and makes them handier to store in the short run. Professional audio and video technicians swear by the over-under technique for their XLR and BNC cables. This method is what you’d call industry standard.
Because the over-under technique works clockwise and counter-clockwise, it’s perfectly ambidextrous. Try it out yourself:
For right-handed people, take one end of the cable to your left. Start with an overhand loop, then flip the cable by twisting your wrist and looping the cable underhand. Loop it overhand and then underhand again, and repeat until the cable is fully coiled.
It’s all in the wrist, alternating the direction of the loop. Because this movement feels a tad counterintuitive, it may take you a couple of times to get it right. Mastering the over-under technique is worth it: your cables will last ages and roll out straight every time.
Don’t forget your velcro strap to tie the cable in place, and mind the placement of the strap, preferably on the male side and not too close to the connector. You don’t want your cables to interfere with any equipment you plug into.

Now that your cables are wrapped, it's time to make sure you manage them correctly. Cameras and microphones are essential, but your equipment room will not function without a good cable management system. Interested in some cable labels? Check out our label store!

Meet Hana Belbecir, our dynamic content marketer. She infuses creativity and strategic vision into the core of our brand. Hana, passionate about storytelling and has a keen eye for market trends, is devoted to creating a unified brand identity for Cheqroom. Her favorite part? Working & brainstorming with different creatives.
More blog articles


